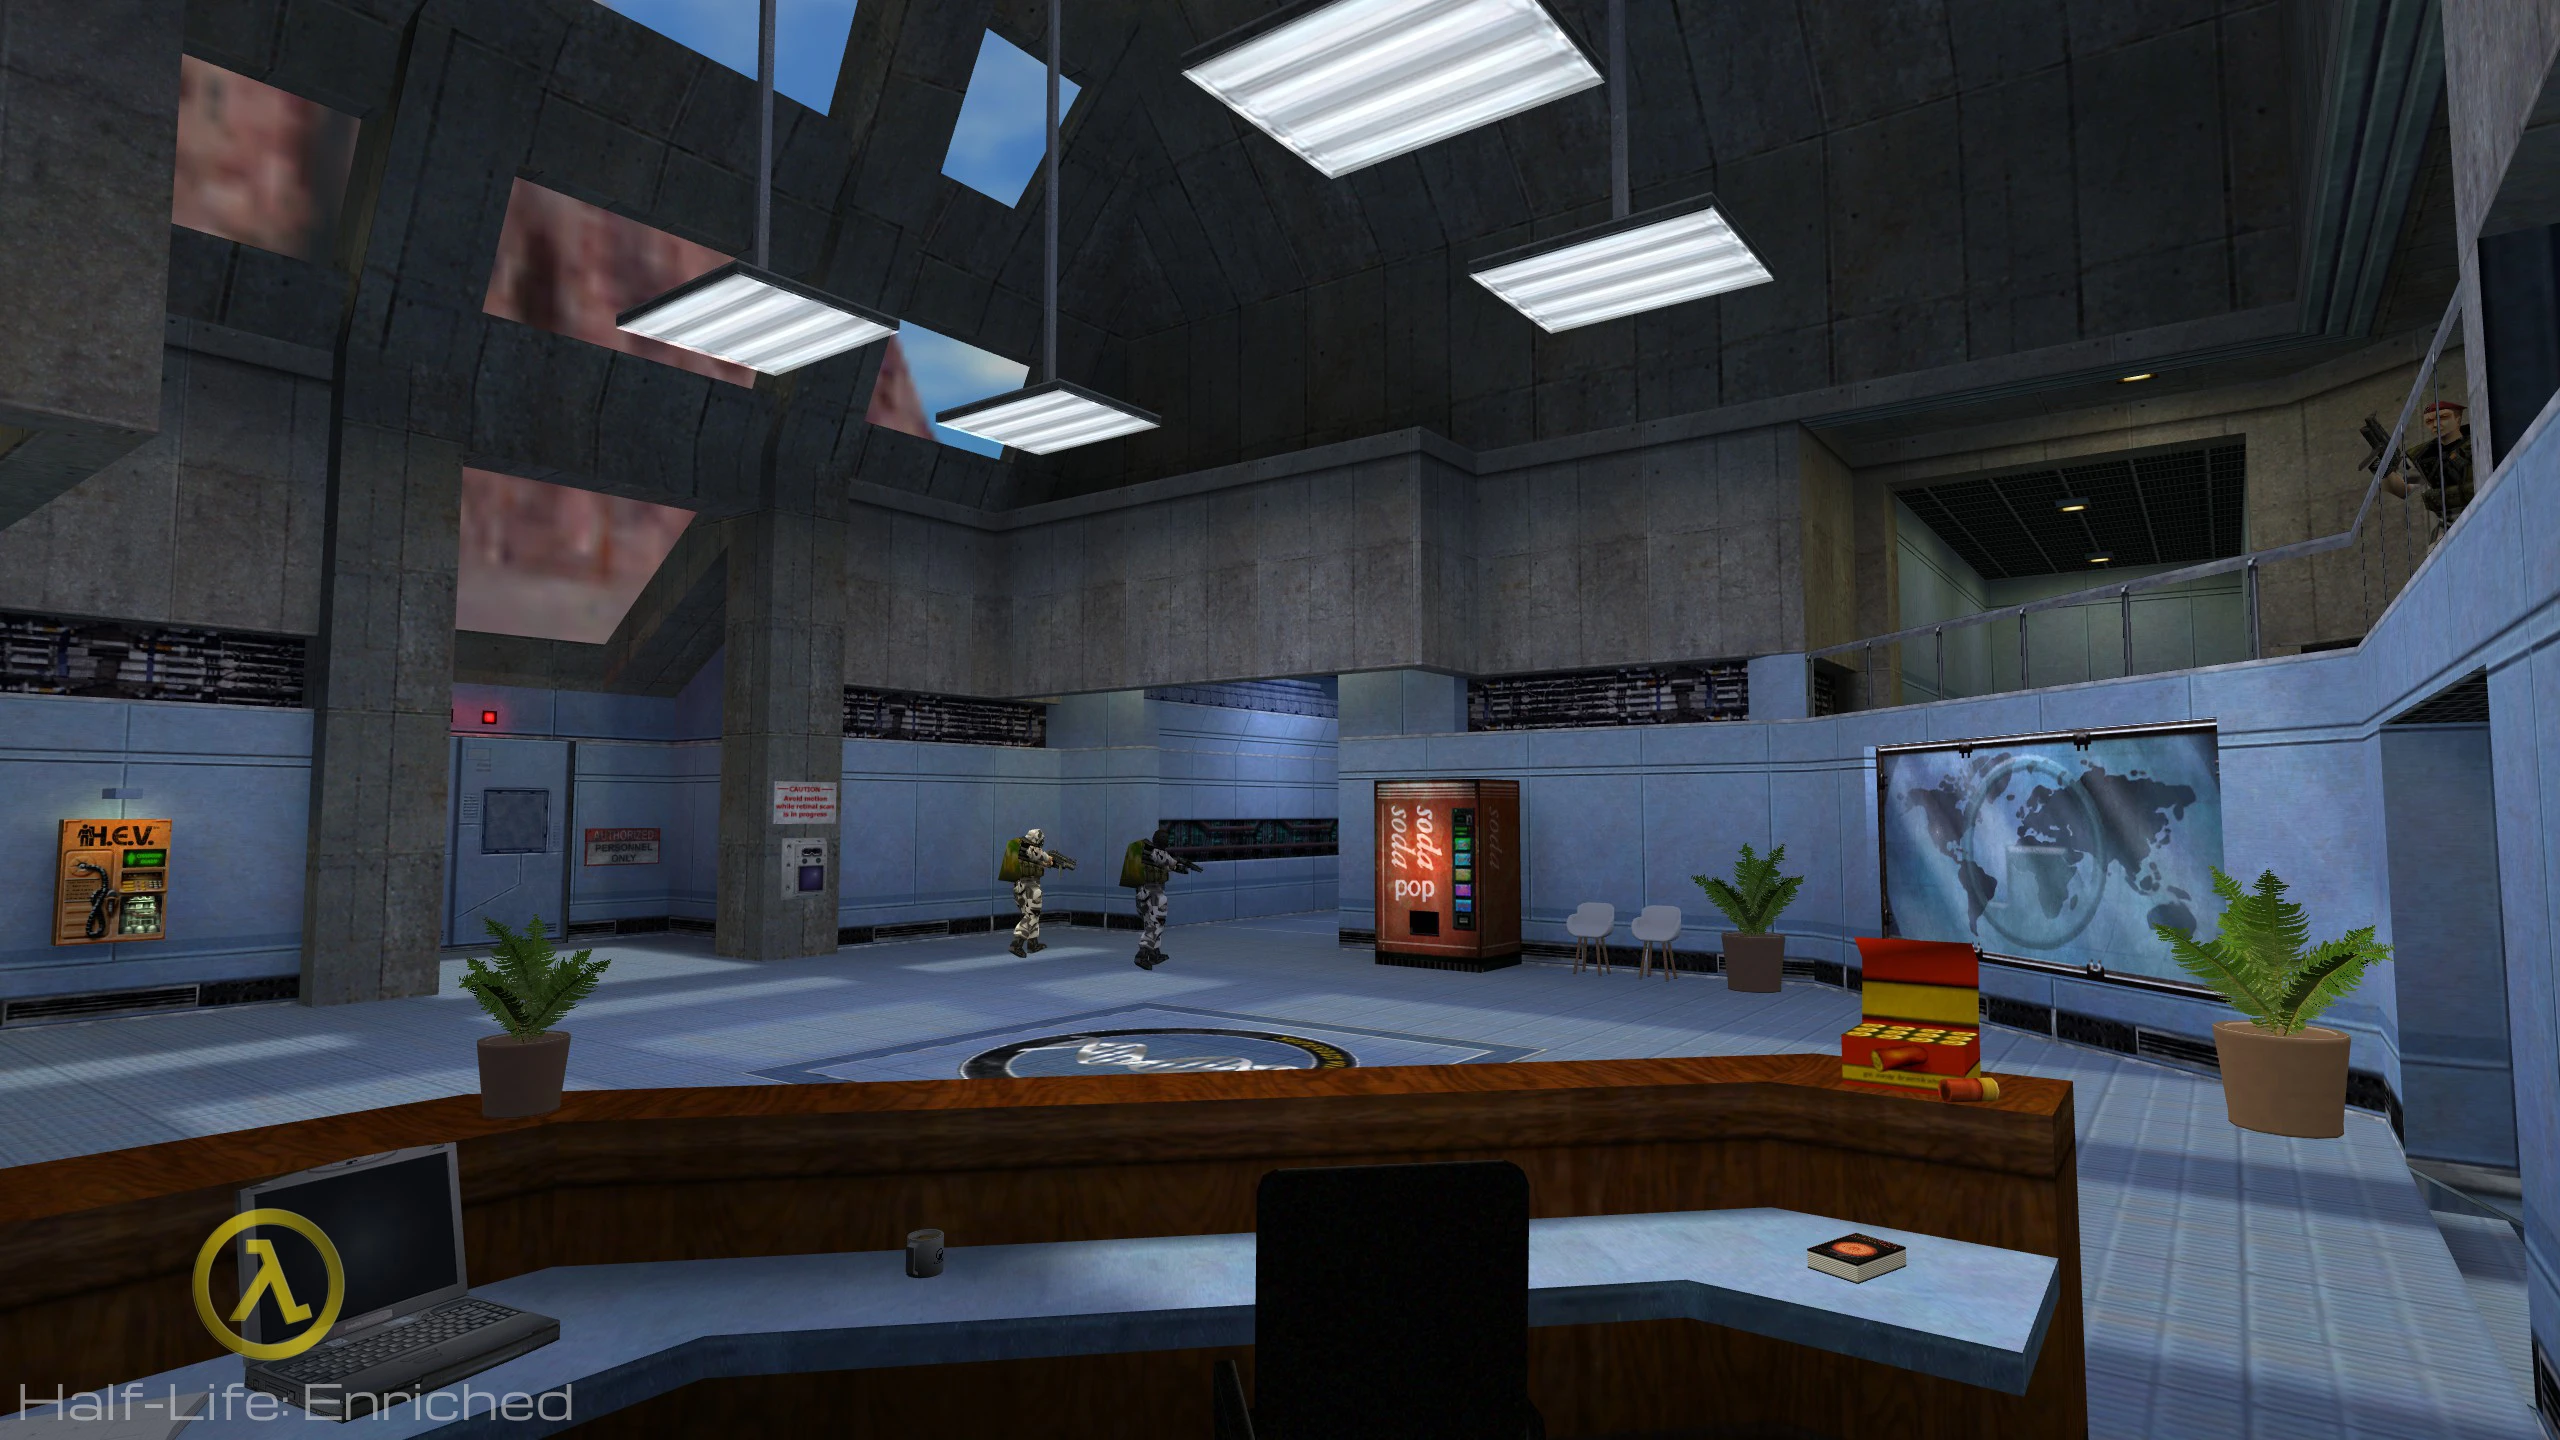
Інструкція з встановлення мода Extended High Definition Pack
Для основних файлів EHD Pack відкрийте цей архів та розпакуйте файли до директорії ваших ігор Half-Life (це повинно бути "C:\Sierra\Half-Life" для WON та "C:...\Steam\steamapps\common\Half-Life" для Steam).
Потім вам може знадобитися налаштувати ваш HD Pack. Користувацькі моделі можна знайти в "[Extra]" та відсортовані за порядком. Це означає, що якщо ви розпакували файли з попередньої папки, вам потрібно розпакувати наступні з першої підпапки до останньої, інакше пакет буде зіпсований.
Якщо ви хочете встановити класичну зброю HL1 замість Beretta, M16 та SPAS-12 від Gearbox, вам потрібно виконати наступні кроки:
Відкрийте папку "Custom main models".
Відкрийте розділ "1 - Weapons".
Перейдіть до папки "1 - RedSlug's MP5 & Glock" та замініть стандартні файли на файли з цієї папки.
Перейдіть до папки "2 - Stockless SPAS-12" -> "2 - With RedSlug's MP5" та зробіть те саме. Тепер у вас є "справжня" зброя в руках вашого персонажа, а також у NPC ;)
Наступний розділ під назвою "2 - Early HD models (Restored)" призначений для тих, хто віддає перевагу "початковим" HD моделям для деяких NPC (з незначними покращеннями). Звісно, ви можете пропустити розділ "Weapons" та почати з цього, але якщо ви змінили зброю, для вас є "Optional" підпапка(и).
ПРИМІТКА: Цей розділ не містить оригінальних HD HECU моделей від Gearbox, оскільки всі вони були покращені або переробленні XRGM для мати той самий дизайн та анімації. Це одна з причин, чому існує Extended HD Pack.
Якщо ви хочете, щоб NPC мали не тільки класичну зброю, але й схожий дизайн до їхніх оригінальних аналогів, перейдіть до розділу "3 - Classic NPCs" та розпакуйте одну або всі підпапки звідти. Це також можна пропустити, якщо вам це не потрібно.
Останній розділ - "4 - Cut NPC restorations (Skins only)" - не повинен був там бути, але автор знає, що є люди, які хотіли б побачити невикористані варіанти деяких NPC. Цей розділ містить заміни лише для моделей другорядних персонажів. Усі моделі постачаються з різними варіантами скінів відповідно до попередніх розділів, які були розпаковані або пропущені.
ВАЖЛИВО! (Для користувачів Xash3D)
Якщо ви використовуєте рушій Xash3D (для ПК) або Xash3D FWGS (для Android або Linux), розпакуйте файли в папку движка (наприклад, "D:\Games\Xash3D" на ПК або "storage/sdcard0/xash" на Android).
Xash3D не дозволяє перемикатися між HD та LD моделями, тому ви повинні перезаписати всі файли з папок у цьому архіві (як приклад - з "valve_hd" до "valve"). Перед перезаписом не забудьте скопіювати оригінальні файли для всіх трьох ігор, якщо ви хочете видалити цей пакет з якоїсь причини. Якщо ви все ж хочете, щоб папки HD Pack були окремими, але повністю ігровими, відкрийте "[XASH3D] Liblists + custom icons.zip" та розпакуйте його. Для отримання додаткової інформації прочитайте "liblist_readme.txt" у цьому архіві.


